Nepal Visa on Arrival for Filipinos
[su_label type=”info”]UPDATED AS OF SEPTEMBER 2014[/su_label]
Trekking in the Himalayas? Well, you need to know a load of important stuff before you can even start announcing on your Facebook page or Twitter account that you’re going to Nepal, the gateway of the mighty Himalayas mountain ranges.
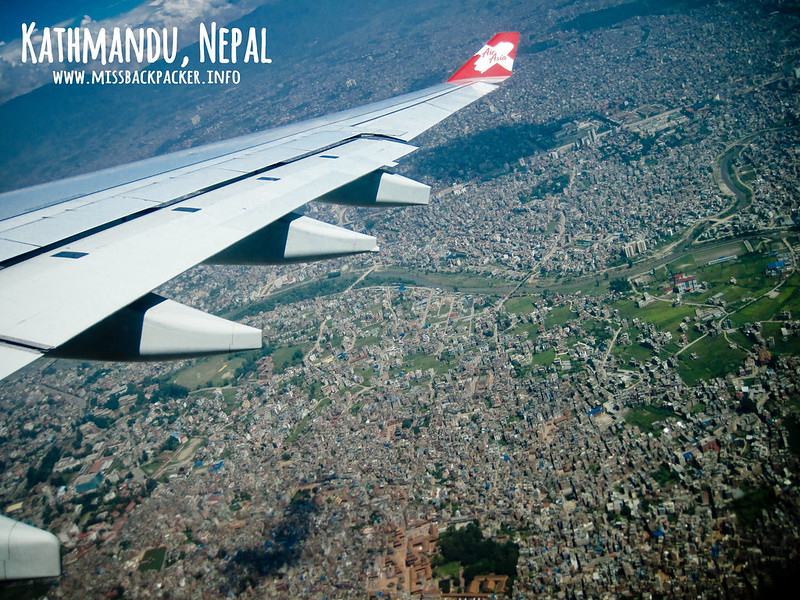
To kick off my Nepal series, let me talk about the first thing you need worrying about—visa. Unlike with some of the Southeast Asian countries, visa for Filipinos isn’t free. Following are the rates for your visa application:
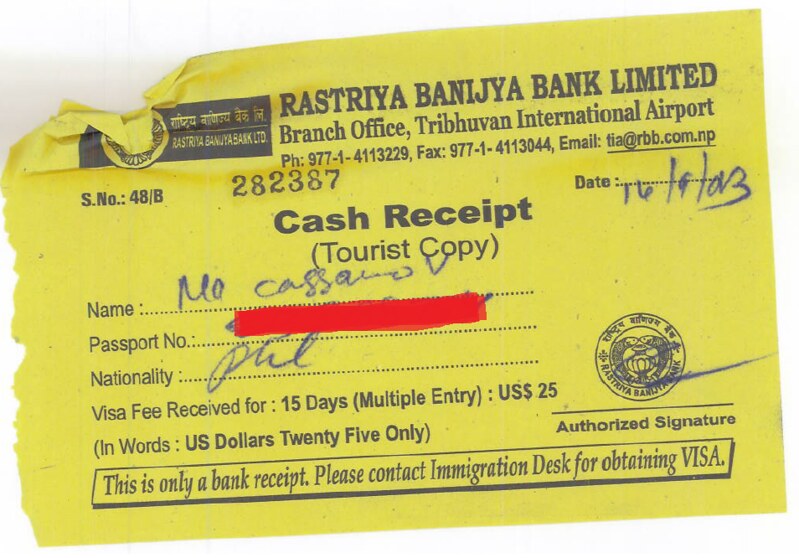
- 15 days – $25 or equivalent convertible currency
- 30 days – $40 or equivalent convertible currency
- 90 days – $100 or equivalent convertible currency
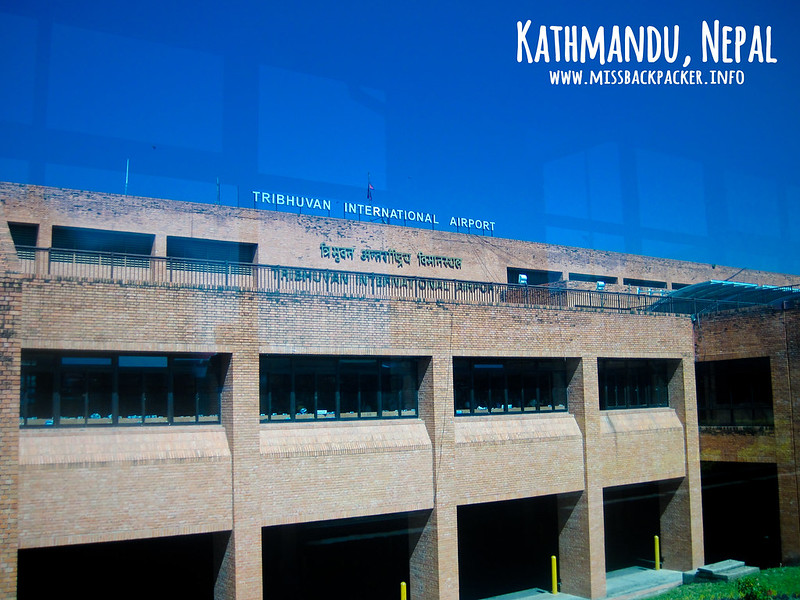
Though not free, you can apply for a tourist visa (for your leisure activities in Nepal) either at your nearest Nepal Embassy or, conveniently, upon your arrival. Nepal has eight entry points scattered around the borders of India, China, and in my case, at the Tribhuvan International Airport (TIA) where you can obtain your visa from. TIA is located in the country’s capital, Kathmandu, where people from the rest of the world fly to. And since I entered Nepal via Kathmandu, this post will pretty much discuss TIA. And I’m telling you, that small airport is pretty congested!
Before lining up in the immigration counter for your passport stamp, you need a couple of things:
- arrival card
- black or blue pen
- visa entry receipt
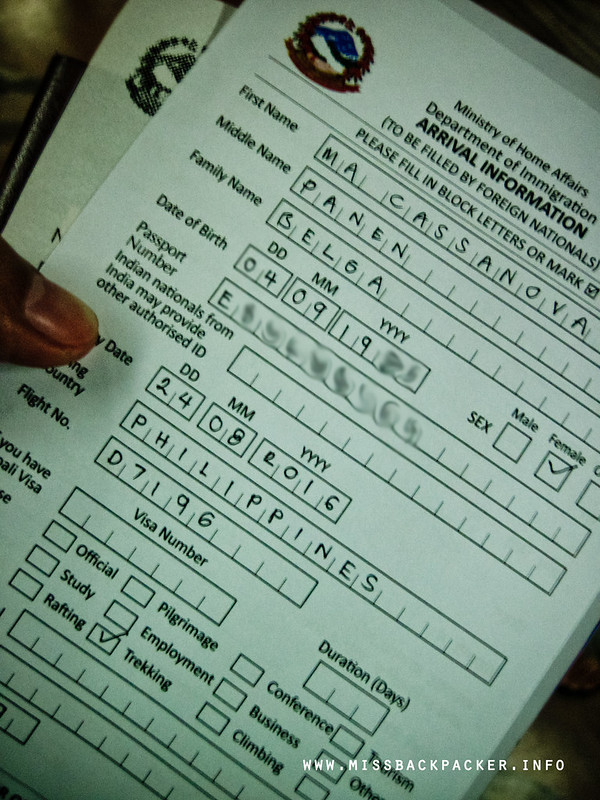
[su_label type=”info”]TIP[/su_label] While flying, ask your flight attendant for the arrival card. Fill out the form before you land so you can go straight ahead to the kiosk for your visa entry receipt, then the arrival hall for the submission of your documents.
Since our last visit in Nepal (2013), there had been a significant change for foreigners arriving the country. If last time everything was done manually, there is now a kiosk in which you have to input your personal information. A visa entry receipt will then be printed, which you would need to bring to the immigration counter along with your arrival card and visa fee.
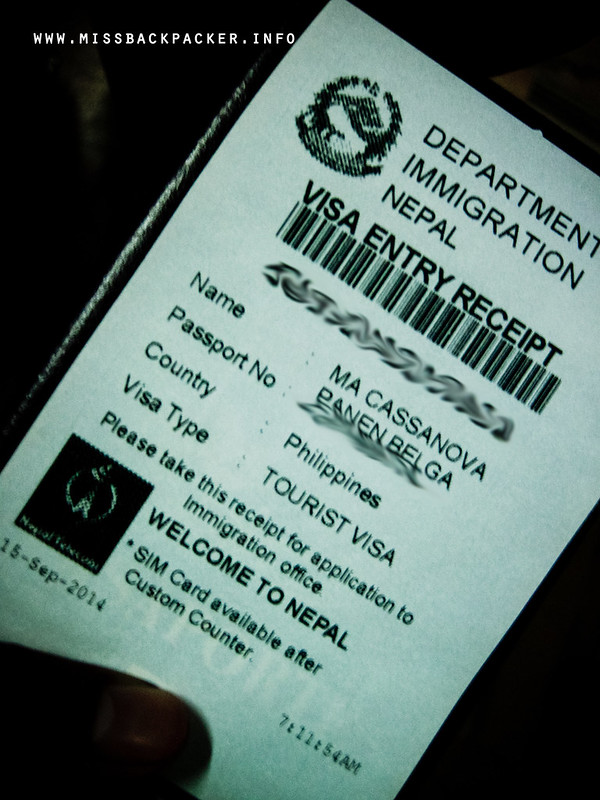
You will no longer have to write your information on a one-page visa application form and attached your passport-size photo. Saves time!
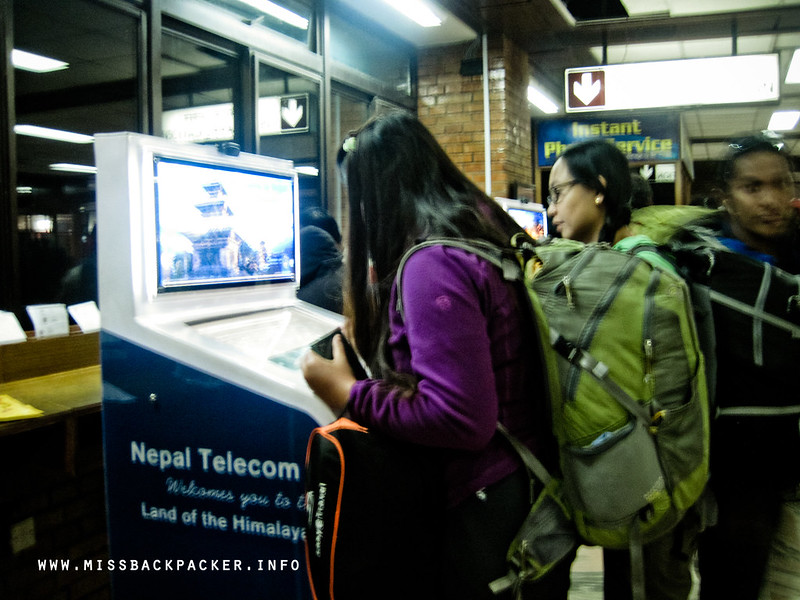
Once everything has been filled out and you think you didn’t miss anything, proceed immediately to the immigration counter, present yourself and your documents, and wait for the immigration officer’s assessment. You will be handed a receipt if your visa application is successful. And as always, check your passport stamp.
Congratulations! You can now check-in at your Foursquare account. For more detailed information about Nepal visa application, please visit the country’s Department of Immigration’s website.
